Before creating the Edition you must first create a new Inventory Record in the normal way and add all relevant basic information (category, medium, image etc.) which can be applied generically to all the Edition Items which you are going to go on and create. Note that the Price as shown on the Core Data tab should be set to the price of an Edition item.
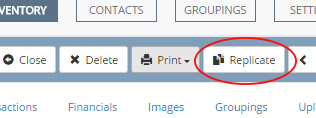
If you are also recording the original work from which the Edition is made you can create (and save) this record first and then simply replicate the record to use for the Edition itself.
To set up the individual items within the Edition click on the Transactions tab. If this record has not previously been set up as an Edition you will see the Convert item to an Edition button. You will immediately see a screen similar to this:
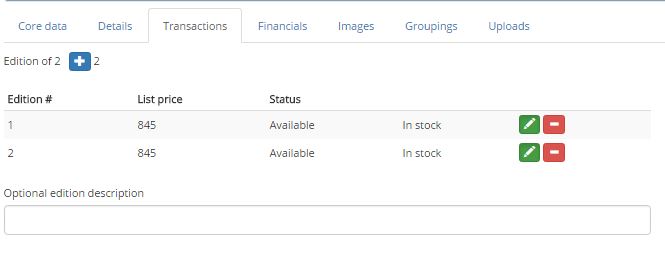
As you create the Edition Artlook automatically sets up 2 initial Edition item records. To add more simply click on the blue + button. Each click on the button will add a new item entry. Keep clicking until you have the required number of rows. Once you have done this you must click the Save button to be able to continue editing the Edition items (or simply Save and Close and then reload the record).
Artlook assumes that each item within the Edition is sequentially numbered – you may however have other items within the Edition which are not numbered, such as Artist’s Proofs. In this case you should include these – so, if you have an Edition of 10 with 3 Artist Proofs you should create 13 rows.
At this stage you must click the Save button to be able to edit the individual items. Once you have done that you can click on the green Edit button ![]() to access the details for the item (the red Minus button will delete the item from the Edition).
to access the details for the item (the red Minus button will delete the item from the Edition).
From the editing screen you can:
- Change the number of the item within the Edition
- Set the list price for this item within the Edition
- Set a manual location for item within the Edition (note that this is different from the location that is set if you sell or Consign the item
- Add notes – these are specific to this item within the Edition
- Sell or Consign or Reserve this item within the Edition – changing the Status triggers the same transaction routines as apply to single item records
Remember to click the Save and Close button when finished editing each record.
If you have added Notes to an individual Edition item you can see these without having to edit the record – simply hover your mouse over the relevant line within the list of items.
Finally you can use the Optional edition description to add a full entry for the Edition eg Edition of 10 with 3 Artist Proofs; each signed and numbered by the artist